Hardware
First of all, I ordered this hardware
- Raspberry Pi 4 Model B – 4GB RAM
- USB-C 5.1V⎓3A power supply, EU, white
- 32GB microSDHC Class 10 UHS-I U1 A1 s NOOBS & Raspberry Pi OS
- Aluminum heatsink 27.8 × 27.8 × 11.2mm
- Official Raspberry Pi 4B box, raspberry / white
- Raspberry Pi microHDMI kabel – 2 m, white
If you have another box, own a micro HDMI cable, and/or microSDHC card, you can order only the first two items of the list. The heatsink is maybe not necessary, but I ordered it just for sure. If you have a USB-C power supply like 5.1V⎓3A, you can skip this item too.
For setting Ubuntu you will need an HDMI monitor, USB keyboard, and mouse.
Software
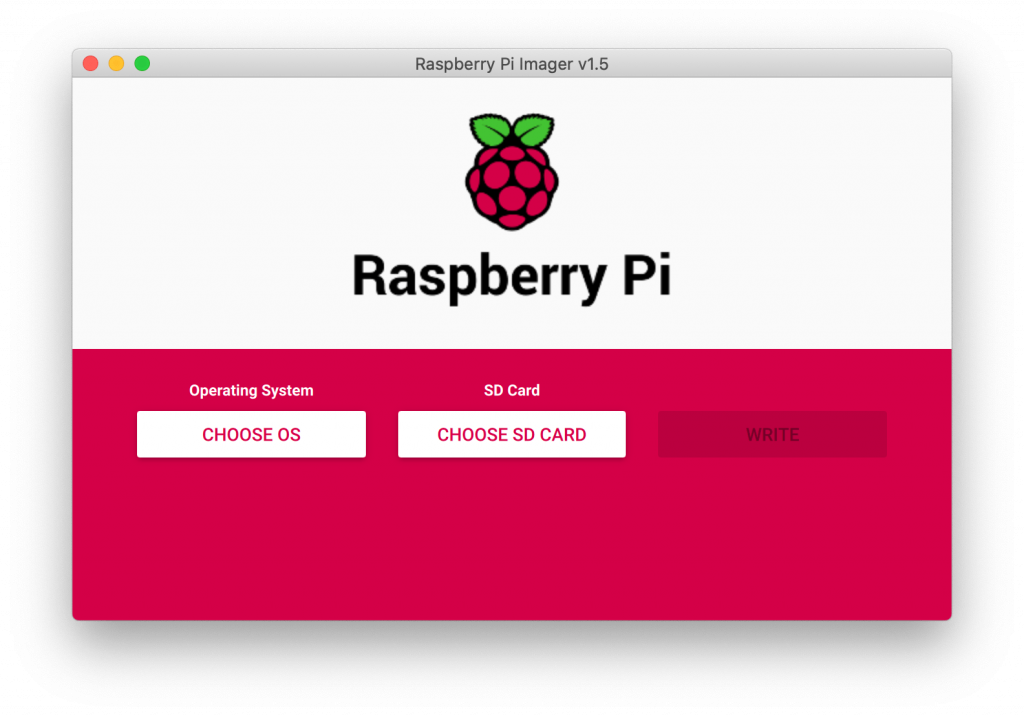
For my mac, I downloaded Raspberry Pi Imager. You can download the version for Windows and Ubuntu x86 too.
How to install on SD card
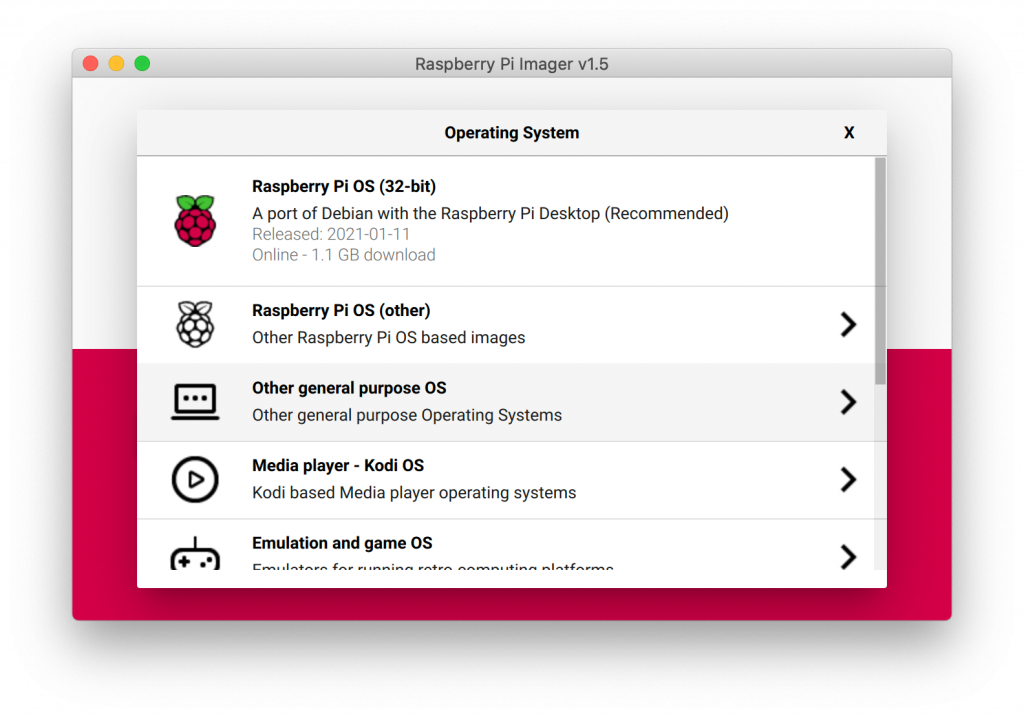
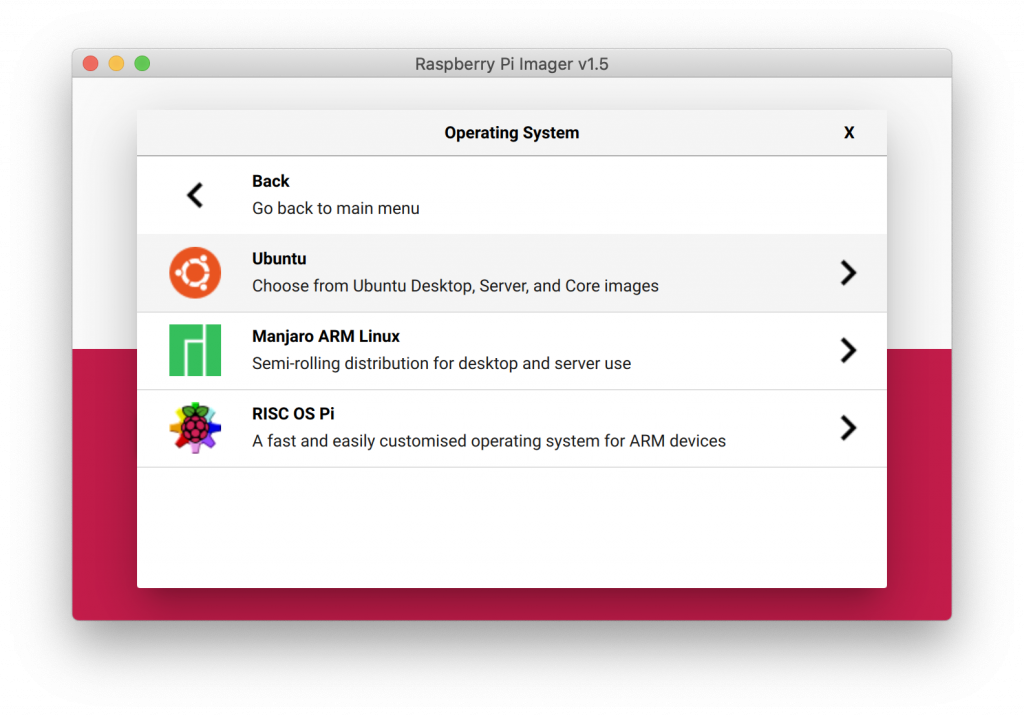
It is easy! Open Raspberry Pi Imager and select Ubuntu 64-bit desktop for Pi 4 models with 4GB+.


Then choose an SD card and be careful – be sure, that you have selected the right medium because this destination will be overwritten with Linux operation system data. And click on the button Write. Then wait – Imager will write and check if all is done right. Then disconnect and remove the SD card from the reader.
Setting up the Ubuntu desktop
Insert an SD card with Ubuntu into the Raspberry Pi slot. Connect the display, keyboard, and mouse to Raspberry Pi and connect the USB-C power supply. Wait, until you see the Ubuntu loading screen (it can take a while) and finish the Ubuntu installation.
I recommend setting auto login user after the restart.
Installing the Minecraft PE server
Run the terminal and you write this command (i found it on PocketMine-MP), but first is fine make a directory for this program
mkdir MinecraftServer && cd MinecraftServer
wget -q -O - https://get.pmmp.io | bash -s -
If you for some reason don’t have a 64bit operation system, it will end here. Repeat the installation of the operating system on your SD card and be sure, that you choose the 64-bit version.
If you are lucky, you see something like this.
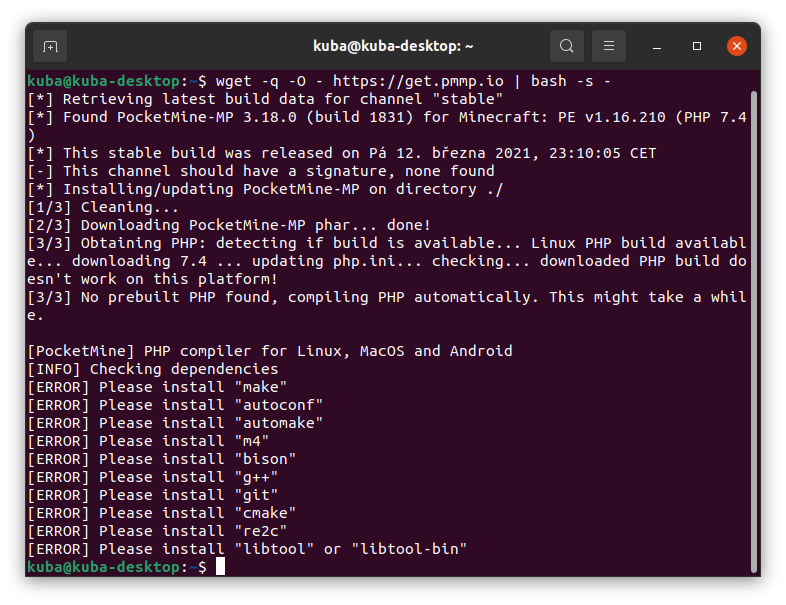
If you are very lucky, you don’t install some other programs for building. I was “medium lucky”, so I must… My command was this:
sudo apt install make autoconf automake m4 bison g++ git cmake re2c libtool-bin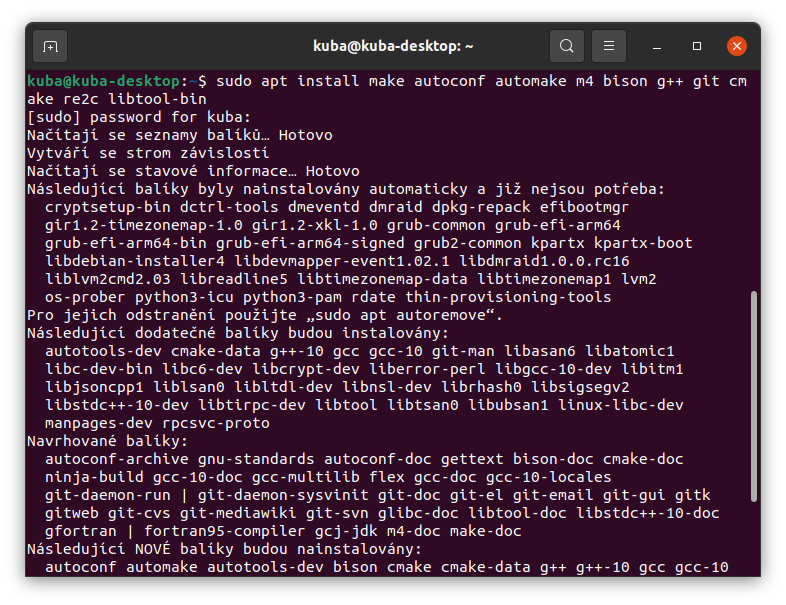
After this (maybe you must install some other program/programs or only part of them – just read, what is on the terminal output) you can finally run again the first command. But now it takes much more time…
wget -q -O - https://get.pmmp.io | bash -s -
And now, for the first time, run you’re own Minecraft PE server! On Linux with this command
./start.shFor an automatic start, after boot/reboot, you can set auto start. Press Alt+F2 and run the gnome-session-properties command. And set new command for automatic start:
gnome-terminal -x bash -c "cd MinecraftServer && ./start.sh; exec bash"